Monday, October 11, 2010

Roast and Gravy

One of my favorite Sunday afternoon meals is to have Roast, Rice, and Gravy.  I love that you can throw it in the crock pot and it be ready when you get home.  It's also the meal I grew up eating most Sunday afternoons.  I've had several people lately ask me how we fix our roast, so I thought I'd share.

Cook Time: 8 hrs
Yields: 6 servings

Ingredients

3 lb Chuck Roast*
Pepper
Seasoned Salt
Flour
2 TBSP Olive Oil
3 cans Cream of Mushroom Soup
Potatoes (optional)
Carrots (optional)

Directions
  1. Trim roast if it needs trimming.  Coat all sides in pepper, seasoned salt, and then flour.
  2. Heat olive oil in a large skillet (use enough olive oil to cover the bottom of the skillet).  Brown roast on all sides to a golden brown, about 5 min per side.
  3. Place roast in crock pot.  Add soup (use more cans if you want more gravy), potatoes, carrots, and anything else you want.  (I do not add potatoes or carrots to mine since Jarod and I don't really eat vegetables, and I absolutely despise the taste of carrots.  However, my Dad does add potatoes and carrots, so feel free if that's your thing!)
  4. Cook on Low for 8 hrs.
* Please note the type of roast is EXTREMELY important.  People always ask why their roast is so tough and mine is so tender...it's all due to the type of roast, so make sure you get a Chuck Roast!

I normally throw this in the crock pot on Saturday night so it will be ready when we get home from church on Sunday afternoon.  My crock pot automatically switches to warm after the set amount of time, but it's not going to hurt it much to cook longer than 8 hrs, should just make it that much more tender.

From Katie's Kitchen

Friday, October 8, 2010

A Look Around My Kitchen

Ok, so you may be wondering why I'm so excited about cooking in my new kitchen.  It's because I'm kind of obsessed with it.  It is my favorite room in our new house.  Since Kelly is doing a Kitchen Tour today, I thought I would show you around my kitchen.  (Some of you may have already seen it on my personal blog, Amos Adventures)

Here is a look at the kitchen and breakfast area from the dining room.  We will eventually (once we have the money) buy a bar height square kitchen table to go there.  I also plan on buying some baskets to go in the spots under the bench so I can store my stuff without it looking cluttered.  We will also be buying some new curtains once we have the money, as these just aren't really our taste, but they work for now!  Please ignore any blue tape you may see in these pictures as it is my way of marking the areas that need to be touched up or something the dealer needs to fix!


This next picture is taken from the end of our kitchen where the sliding glass door leading out to the backyard is.


This is our induction cooktop, which was added at the request of the hubby, and I'm loving so far  :)  The cabinets were originally solid wood, but I had them add the fluted glass to give it a little more character.  I want to replace the canisters with some silver canisters or some decorative ones, but have not been able to find any ANYWHERE!  For now these tuperware ones will do.


This next picture shows two of my favorite things about my kitchen...the double oven and my refrigerator!  It is crazy how much room my fridge has, which comes in handy when I go on my cooking sprees and have tons of food to store, but most of the time it just stores lots of drinks, ha!  I'm super excited about my double ovens, especially with the upcoming holidays, as I hope to be hosting Thanksgiving and/or Christmas at my house this year.


The microwave was originally where the double oven is, but I was determined to have a double oven, so it got moved to the island.  I'm still not sure how I feel about the microwave being lower, but I'm sure I will get used to it, and I'm even told once we have kids who are old enough to microwave their own snack, I will love that it is at their level.  Time will tell...  The doorway to the left of the oven leads to my laundry room which also has my pantry in it.  The doorway on the far left of the picture leads back to the dining room which is where I took the first picture, so I guess we've come full circle :)


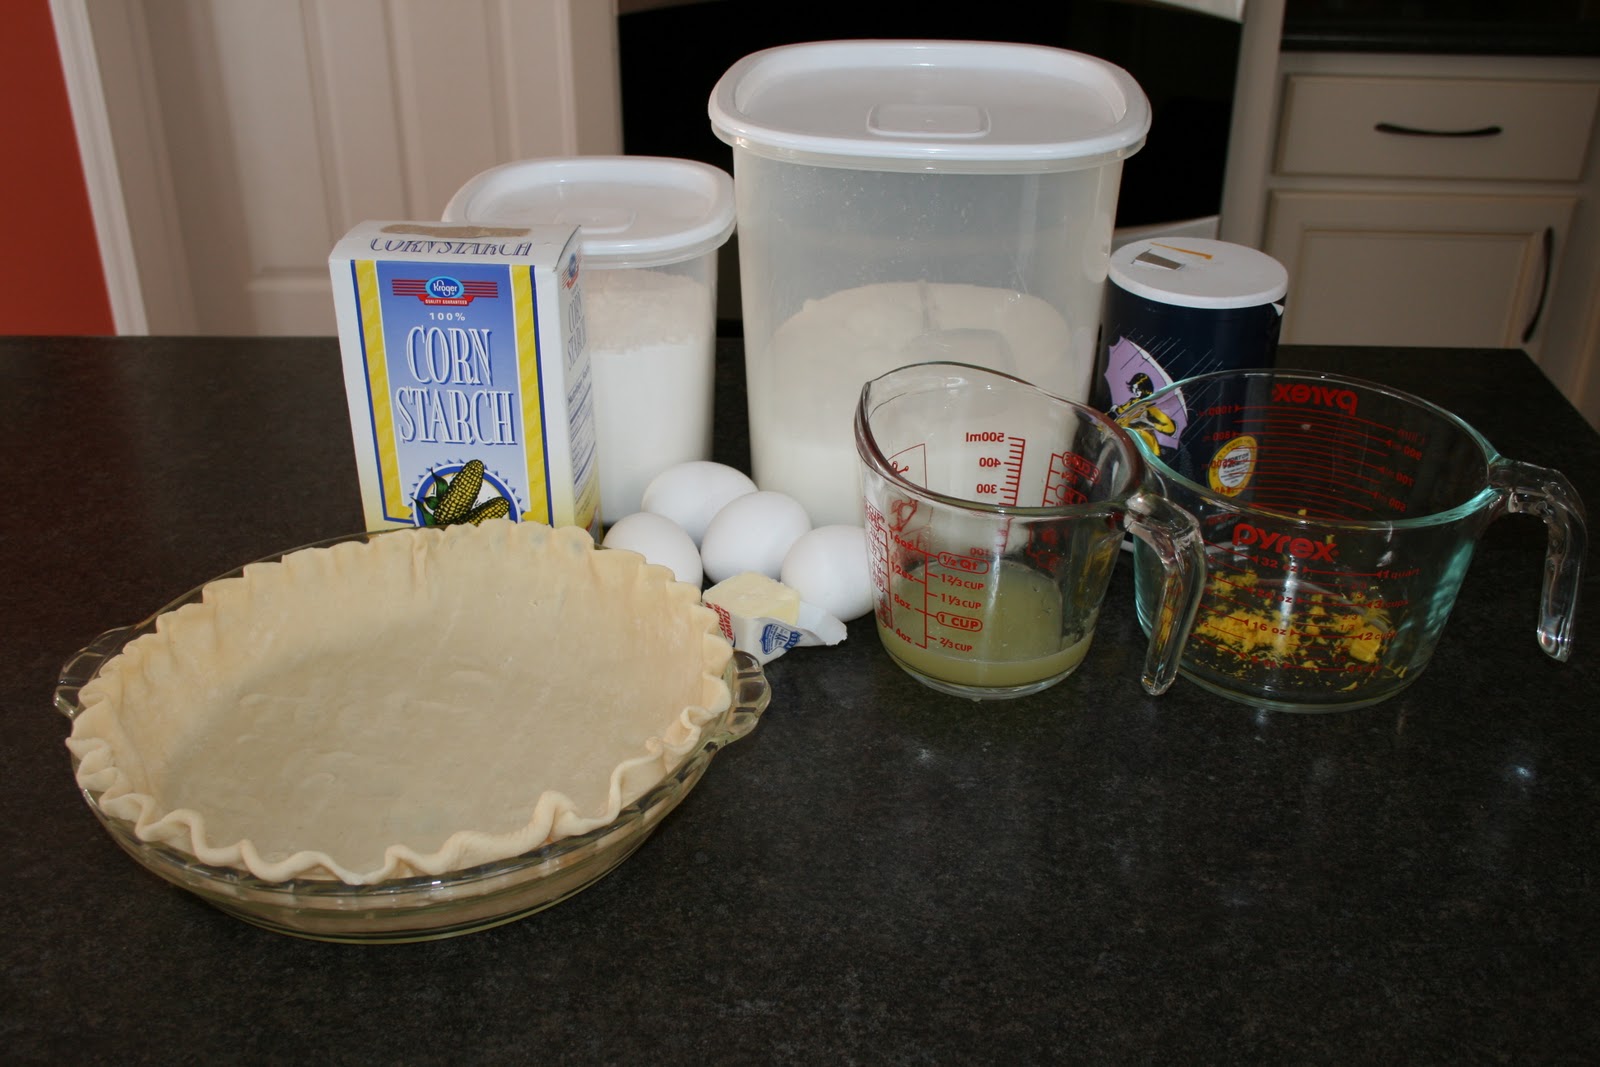
Now if I only had more time at home to cook all those recipes I want to try!

Tuesday, October 5, 2010

Roasted Okra

I saw this recipe for Roasted Okra and thought it would be a healthy alternative to the fried okra I normally fix.  Okra is one of the only vegetables I like, so I've gotten to where I try to fix them once every week or two.  I'm glad I now have another way to fix them.

Cook Time: 20 Minutes
Yields:  6 Servings

Ingredients

36 fresh okra pods, sliced 1/3 inch thick
2 Tbsp olive oil
salt and pepper to taste

Directions
  1. Preheat oven to 425 degrees.
  2. Combine okra, olive oil, salt and pepper in a ziplock bag and shake to coat.
  3. Arrange okra on a foil lined cookie sheet and bake for 10 to 15 min.
Recipe from AllRecipes.com

Monday, October 4, 2010

Lemon Meringue Pie

I saw this recipe and thought it sounded great, so I of course filed it away to try one day when we were having people over to help us out.  I honestly don't think I've ever had any kind of lemon pie, so I wasn't really sure if I'd like it or not.  Let's just say it was good, but I doubt I will make it for myself again.  I found out I'm not a huge lemon fan, however my guests thoroughly enjoyed it and commented on how good it was, so it's not the recipe, it's just my taste buds!


Cook Time: 40 Minutes
Yields: 8 Servings

Ingredients

1 cup white sugar
2 TBSP all-purpose flour
3 TBSP cornstarch
1/4 tsp salt
1 1/2 cups water
2 lemons, juiced and zested
2 TBSP butter
4 egg yolks, beaten
1 (9 inch) pie crust, baked
4 egg whites
6 TBSP white sugar


Directions
  1. Preheat oven to 350 degrees.
  2. To Make Lemon Filling:  In a medium sauce pan, whisk together 1 cup sugar, flour, cornstarch, and salt.  Stir in water, lemon juice and lemon zest.  Cook over medium-high heat, stirring frequently, until mixture comes to a boil.  Stir in butter.
  3. Place egg yolks in a small bowl and gradually whisk in 1/2 cup of hot sugar mixture.  Whisk egg yolk mixture back into remaining sugar mixture.  Bring to a boil and continue to cook while stirring constantly until thick, about 12 minutes.  Remove from heat.  
  4. Pour filling into baked pie shell.
  5. To Make Meringue:  In a large glass or metal bowl, whip eggs with a hand mixer until foamy.  Gradually add sugar, continuing to whip until stiff peaks form.
  6. Spread meringue over pie, sealing the edges at the crust.
  7. Bake in preheated oven for 10 minutes, or until meringue is golden brown.
From AllRecipes.com